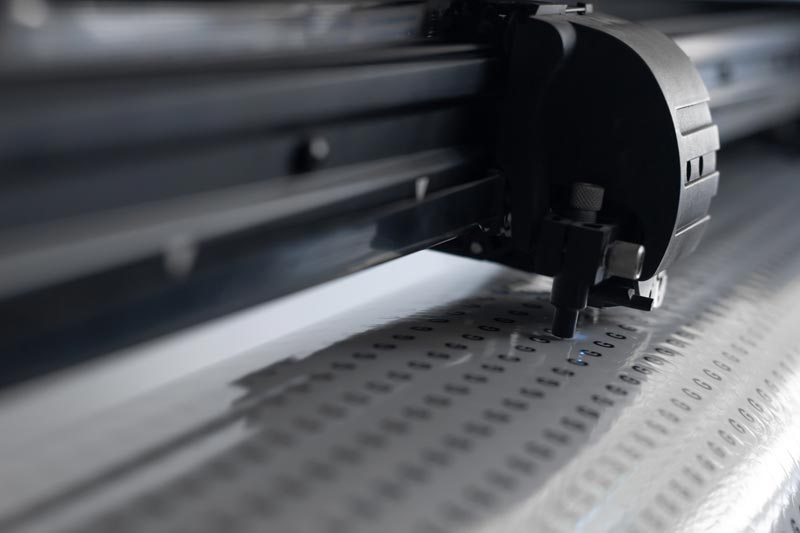
You know that saying, “The devil’s in the details?” This phrase applies beautifully vinyl cutter blades.
No matter how basic or sophisticated your cutter, if you do not use the right blades or they are worn out or improperly installed, the precision and power will suffer.
On the flip side, when you take extra care when it comes to correctly installing and maintaining the right blades, you will fully enjoy all of the benefits that a vinyl cutter can deliver—even if it is not a top-of-the-line digital wizard.
Read on to learn more about the importance of a vinyl plotter blade to your operations.
Which Plotter Blade Do I Need?
One of the questions we get asked most often? Which plotter blade do I need to cut different types of vinyl?
Let’s start with a few basics. Blades come in three different angles:
- 30 degrees
- 45 degrees
- 60 degrees
These angles impact the cutting depth, determined by cutting edge angle intersection and the shaft. Most manufacturers rely on 45- and 60-degree blades.
For example, a standard 45-degree vinyl blade can handle most calendared PVC vinyl just fine. As for 30-degree blades, these work well with thin films containing standard-sized graphics, as well as more robust films, such as retro-reflective film.
A 60-degree vinyl cutting blade delivers when it comes to cutting reflective and other materials in the Vinyl Express Qe or Q series plotter as well as Graphtec.
Get That Install Right
Now that you know which blades to get, how do you install plotter blades? Start by knowing just how much of the edge to expose.
A basic rule of thumb? If you can feel the tip or see the blade, you have most likely got too much extending from the holder.
Why do we bring this up? Because it is an all too common mistake made by vinyl cutter owners.
What is the easiest way to remedy the situation? When you install a new blade, make sure that you can barely see the tip. Then, test it out by dragging a sheet of vinyl across it in the pattern of a box or square.
Take a look at the box or square that you scratched into the vinyl’s surface. If you see deep scoring at the release liner, then less blade should protrude.
Next, flip the vinyl over. If you feel a cut line on the reverse side, adjust the plotter blade so that less of it extends from the holder.
Another test? See if you can cut the vinyl manually without touching the liner. If you can, then you have installed the blade at the right level.
Once you have installed the blade holder in the tool carriage, perform a test cut. Adjust the force setting as needed until you achieve the desired precision and power.
Of course, there is a caveat to all of this. When cutting thicker material, such as sandblast stencil film or heat transfer flock, you will need to adjust by exposing more of the blade.
The Right Tools for Your Business
When it comes to making signs and graphics for your business, the right equipment makes all the difference. The better equipment you have to work with, the better the visual impact of your final product.
That is why we specialize in simple business solutions. Have a question about a plotter blade or looking for a quote on a specific item?
We have got you covered. Contact us to get the answers you need when you need them.
Simple Solutions International offers a full selection of plotter blades and plotter pens as well as a variety of useful tools for use in plotting and sign making such as plotter adapters, masking film, spray mask, and other sign making tools and accessories.

