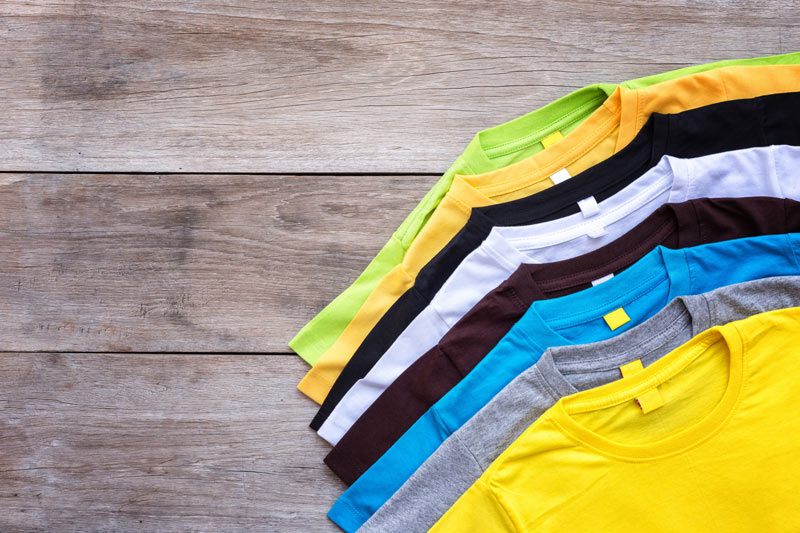
You were making your T-shirts can be a great creative outlet. In some cases, you can even use the skill to start your own online business.
More often than not, people take advantage of a process that utilizes heat transfer vinyl to press a design onto a shirt. There is an alternative method that you should consider — Screenprinting.
We have put together a quick guide to help you get started Screenprinting with vinyl. Let’s take a look.
What Do I Need to Get Started?
Before you begin, you will need to gather certain materials. These materials will help ensure that the process goes as smoothly as possible. Fortunately, most are relatively inexpensive.
Permanent Vinyl
This option will serve as the material that you use for your design. For those unfamiliar, the vinyl you purchase will essentially be a blank sheet.
You can then cut your design to customize it to your liking.
A Vinyl Cutter Machine
There is a handful of different brands to choose from for this piece of equipment. The machine that you select should be renowned for its usability.
Since this process is not overly easy for those who have not done it before, it is best to use a vinyl cutter with an intuitive design.
Ink
Ink is integral to your design, so do not forget to pick up any that you need. It is also best to double-check that you have enough ink before you get started.
At the very least, you should have black ink on-hand.
Weeding Tools
These tools will help you pull your design out of the vinyl after it has been cut. Although it is possible to do so by hand, it is highly inadvisable.
Not only is it tedious, but you run the risk of ruining your design.
A Screenprinting Screen
As the name suggests, you will not be able to complete this process without one. Fortunately, they are inexpensive and available in a variety of different sizes.
It will not take long to find the best one for you.
Transfer Tape (and Regular Tape)
After you have cut your design out of the vinyl sheet, you can use transfer tape to keep everything together. This tape is handy for text, as you would otherwise have to place each letter manually.
As you might expect, it would be virtually impossible to align everything correctly.
Blank Material
Most people use this process to design T-shirts. But, you have a bit of flexibility regarding what type of surface you can screenprint onto.
Other popular options include flags, towels, and backpacks. If you’re looking for blank materials, consider purchasing from a wholesaler — you can end up saving a lot of money if you need a large volume of products.
Cutting Your Design
Although it might seem complicated, cutting the designs is reasonably straightforward as long as you use a quality vinyl cutter. These machines allow you to use software that tells the machine where to cut the vinyl.
You could create your design within the software itself or import a file that has already been made. For example, many people choose to create their designs in Adobe Photoshop or Illustrator and then use them in the vinyl cutter software.
In general, it is best to use a vector image when possible since machines will cut these with a high level of accuracy.
It is important to note that your design’s accuracy will depend on the settings that you choose for your vinyl cutter. Some settings are meant for thicker material like cardstock, while others are more optimized for vinyl.
You can also use a vinyl plotter to both print and cut your design. This option is particularly useful for T-shirts, as it gives you a large amount of flexibility in achieving your desired result.
But, it is essential to ensure that all of your parts are functioning correctly. You can visit this resource to learn more about your replacement options.
Creating Your Silkscreen
To create your screen correctly, you will need to mirror your vinyl design within your vinyl cutter software. Afterward, you can begin cutting it out like you usually would for other types of projects.
You can use transfer tape to remove your cut design from the sheet of vinyl. Place your vinyl design into the center of your screen and carefully push it into the material.
When the vinyl feels secure, slowly peel the transfer tape back. The design should be left in the center of your screen without the tape.
You can then use regular masking tape to cover all of the blank areas of the screen. When doing so, you should ensure that the tape touches both the screen frame and the vinyl.
Printing the Design
Place your screen onto the surface that you are printing onto.
You will need to apply ink to the entirety of your design. It should thoroughly cover the vinyl, meaning you shouldn’t be able to see through the ink. Afterward, you can lift your screen.
If you completed it correctly, your design would be neatly printed on the surface. Afterward, you can use an iron or heat press to make the design permanent.
Screenprinting With Vinyl Can Seem Complicated
But, it’s not nearly as difficult as you might anticipate. With the above information in mind, you can quickly get started Screenprinting with vinyl and bring your designs to life.
Want to learn more about what we have to offer? Feel free to reach out to us today and see how we can help.
Simple Solutions International offers a full selection of plotter blades and plotter pens as well as a variety of useful tools for use in plotting and sign making, such as plotter adapters, masking film, spray mask, and other sign-making tools and accessories.

