If you need to complete a screen printing or design project, masking film can make your process easier. How do you use it and what kind of film should you choose? Here are 5 tips to help you get started!
1. Choose the Right Film For the Project
With masking film, you can create screen printing stencils for t-shirt designs or die-cut masks for larger projects. To get started, ask yourself what kind of project you are doing. Are you screen printing a new t-shirt design or airbrushing a car?
Ruby masking film is a great option if you are getting your screen-printing business off the ground. This light-safe film (i.e. it blocks UV light!) is easy to cut by hand but can also be run through a vinyl cutter. It is also great if you are on a masking film budget since you can get a lot of printing out of a single stencil.
We normally think of vinyl as the material used to create signage, but it actually can be used as a masking film. It provides a way to seal off specific areas for heavy-duty projects, such as airbrushing or car striping. Tougher vinyl can hold up to outdoor wear and tear really well.
2. Determine Your Design
This step is important, and it is worth sketching out some ideas first. If you are cutting the film by hand for a screen print stencil, use a bold pen or marker to draw your design on paper. When you place a ruby masking film on top of the drawing, you will still be able to see it and use it as a guide.
Aim for a graphic, sharp design that is easy to cut, especially if you are doing so by hand. If you are masking off a design for a t-shirt, your design can be printed hundreds of times once your screen has been exposed. It is important to make something original and dynamic that you will not get tired of seeing!
3. Cut Your Design With the Right Tools
If you have access to a vinyl cutter, you can input your design and have the cutter do all of the work. If you do not have access to a vinyl cutter or want to cut the stencils by hand, you can still get a great result.
Make sure to choose a good, sharp utility knife to cut the design. A dull blade will only result in botched edges and frustration. Remember that with a ruby masking film, the ruby film – not what you cut away – is what will print!
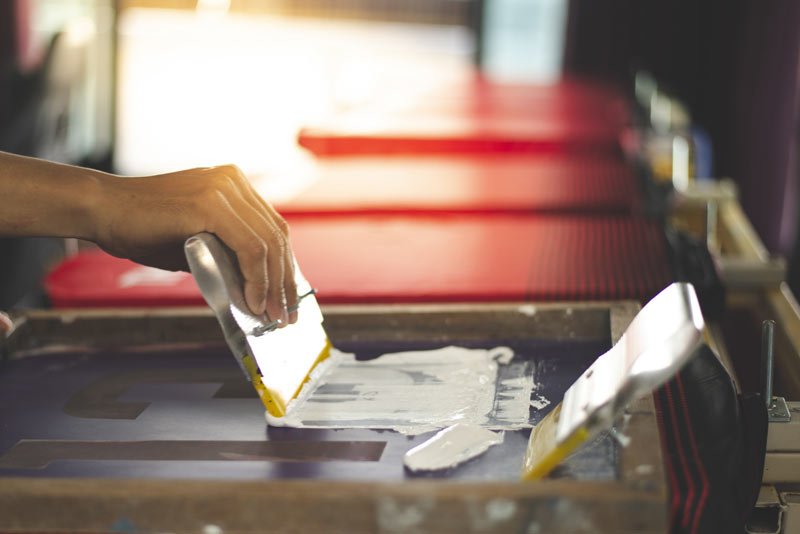
4. Apply and Remove the Masking Film Carefully
Whether you are going to apply masking film to a screen or other surface, the bottom line is the same: move slowly and carefully.
Masking film is more likely to adhere to a smooth surface. If you are creating a screen-printing stencil with ruby masking film, degrease your screen, coat your screen in the emulsion, and then carefully apply the film to the screen mesh. Burnish everything down to avoid pesky air bubbles or other issues before exposing the screen.
If you have used a vinyl cutter, reach for a utility or weeding tool to remove the unnecessary parts of the film from your mask without damaging other areas.
5. Masking Film Offers Budget-Friendly Versatility
Masking film is a versatile product that can make stenciling easy. If you are looking to start that home printing business, it is one of the most economical ways to get started designing. Check out our masking film selection for your next project!
Simple Solutions International offers a full selection of plotter blades and plotter pens as well as a variety of useful tools for use in plotting and sign making such as plotter adapters, masking film, spray mask, and other sign making tools and accessories.